Wednesday, March 30, 2011

Cannoli

Hi! The other day, I was craving some Italian pastries called cannoli. As they don't sell them in the US, I decided to attempt to satisfy my craving by making some doll house cannolis. It didn't work... But, I did make some pretty cool pastries! I made the cannoli shells using beige clay textured with fake sand. I then baked and filled the shells with wallboard joint compound mixed with acrylic paint. After the filling in the shells dried, I glued three vanilla and three chocolate onto real porcelain trays. Hop you like them!Bye!

Fish Tray

Hi! Here is the fish tray I made:


The bunches of green are parsley. To make them, I pushed softened polymer clay through a fine colander. Be careful if you try this. It is hard to clean the clay out of the sieve, especially if your colander if super. I placed my fish, parsley, and some lemon slices on a tray I made myself out of clay. I hope you like it!


Meat

Hi! I've been making meat lately for my butcher shop. Here are pics:


These are made out of polymer clay. The darker reddish pieces or meat are lamb legs. The lighter pink ones are hams.


These are sausages. I used a mix of translucent clay, a bit of red and terracotta clay, and a pinch of parsley flakes and Cayenne pepper. They smell really nice for real! I am planning to make about 5 more sausage strings, two more in this color, and three more in a darker red color.


These are my birds to hang in the shop. The light colored big one is a dead goose. The darker ones are beheaded pheasants. Again, these are all made from polymer clay. I'll post a fish tray I made soon.
Bye!

More Cakes and Pies and Sugared Roses and Plums...

Hi! I've been busy making lots of cakes! Here are pics:


These Cakes are all made of Polymer caly (textured with corn flour), Wallboard joint compoud with a bunch of acrylic paint mixed in (for frosting on cakes), and tiny roses or rosettes I made using a mold and polymer clay.


These are 3-tiered wedding cakes.


This is the best cake I made. It's a red vevelt cake with roses and vanilla frosting. Doesn't that make you hungry? I'm just glad my mini cakes turned out better than my edible cakes. I can never make an edible cake just right. They always end up looking sloppy...

Here is a berry pie I made for fun. It is filled with rasberries, strawberries, blueberries, and black berries. l my beries are made from clay, which I then glazed with clear nailpolish after baking.


I made these Surgared roses and plums awhile ago for a sweetmeat shop (a sort of candy shop for medieval people).

Those are all of my baked goods. I'll post my other creations soon - meat!
Bye!

Finished Apothecary

Hi! My mom and I recently finished our apothecary shop! An apothecary is like a medieval pharmacy. Here are pics:


My mom did most of the work on the apothecary, but i did help a good amount. I made the door handles from polymer clay. I also did the bricks myself. I helped my mom make the candles, which we made using really thin candles and cuting and burning them, and I also helped filling jars and making books and posters. Everything else was done by my wonderful mother while I was making clay food. If you have any questions, feel free to comment!

Thursday, March 17, 2011

Medieval Oven for a Butcher Shop

Hi! So, my mom and I are also working on making a row of medieval shops, my plague dolls house and food being part of our larger project. Tonight, I worked on making a medieval oven. Here are some pics:


First of all, I started with a plain piece of foam board, a very sharp craft knife (as I found out from experience), a pencil, and a ruler. I first measured my foam board and cut it to 8 inches tall by 11 1/2 inches wide. I then measured a space for my oven in the middle, and cut out a large rectangle. This was rather difficult, and as I mentioned above, I found out just how sharp my knife was when I happened to miss the foam and cut my finger. After a five minute intercession of waiting for the bleeding to stop, I was right back on cutting my foam board. Once I was done cutting out my rectangle, it was time for stage two.


Stage two was creating the oven. I basically made a simple foam box with four solid sides, leaving the front and bottom open. For my front, I cut two windows out of a properly sized piece of foam and then glued that on the front, using flat headed pins to hold everything together while the glue dried. I left the bottom open. For tonight, that is as far as I got. Next, with my mom's help, I will use paper clay (air drying clay) to cover my foam base and then I will carve brick outlines into the clay. we'll see how it turns out. However, while I was hard at work with foam, my mom painted the bricks on our apothecary. Here are pictures:


I'll post pics of the buildings as soon as they are finished. Bye!

Roast Pigeons, Roasting Spit Pigs, and Grapes

Hi! So, today I was hard at work again! I made roast pigeons and pigs. Here are pics:


For the pigeons, I took ochre colored clay and first shaped it into triangular-ish balls. I then used a toothpick to draw a line down the center of my bird. I then used a fine sieve to texture the ends of my birds. I took thin rolls of clay and made wings and legs. I then dusted each bird with a mix of gold, brown, and reddish brown colored pastels. In between each I put watercress bunches and turnips i made.

This is my real fest for the day, a roasting pig. I made the animal from beige clay and then brushed it with the same colors of pastels as I used for my roast pigeons. I also made the roasting spit. I still need to glaze my pig with nail polish, but other than that, it's finished!


Lastly, my amazing mother made grapes for me today. She made them by rolling wine reddish purple clay and translucent clay with a touch of green in it into tiny balls, and pressed them into bunches. She made all the grapes in this basket except for the tiny lighter purple bunch with a clay leaf towards the top pf the basket, which I made a few days ago. I love my mom's grapes! She doesn't like them as much since seeing my bunch, but I don't get why, because hers are just as good if not better than mine. If there is anything you really want me to try and make, just comment below and I will try to make it. Bye!

Appetizer Tray

Hi! Here is the Appetizer tray, like I promised in my last  post:


The center dish with gray mushies is pickled herring. The yellow dish at about 4 o'clock on a clock is egg yolks.the white dish at about 10 o'clock is hard boiled egg whites. To start out, I cut a thin, large circle ( about 1 3/4 inches in diameter) out of white clay. I next made 7 tiny white dishes which I placed on top of my white circle. Then I could begin to make the food. To make the herring, egg yolks, and egg whites, I finely grated clay (gray for herring, yellow for yolks, white for egg white) with a cheese grater, then chopped it to make it extra fine. I piled the crumbly clay into a dome shape, white on one dish, yellow on another, and gray on another. Next, I made red cabbage, chicken, and venison strips. The cabbage is the dish at 6 o'clock, the chicken strips are at 12 o'clock, and the venison is at about 8 o'clock. To make these, I first rolled out clay (wine red for cabbage, beige for chicken, darker brownish beige for venison) into thin strips. Using a sharp craft knife, I sliced strips of clay and layered it onto my dishes. For the last plate (at 1 1/2 o'clock) I made grapes. I mixed translucent clay with just a touch of dark green. I made tiny balls of this and layered them in a dome. After all my plates were done, I took dark clay and made watercress bunches by rolling tiny balls of dark green clay and flattening them. After flattening my circles, I crinkled them up and placed tons of them inbetween each dish on my appetizer tray. Lastly, I made tiny nasturtium flowers with yellowy reddish orange clay and placed a few of them on my tray. Oila!!!! After lots of work and time, my appetizer tray was finally completed! I hope you like my tray! Please comment below! Bye!


Wednesday, March 16, 2011

Bread

Hi! As you can see, I have gone a bit food crazy since my class last Wednesday. Here are pictures of my breads (they look much better for real) :


This is a circular loaf.

These are twisted rolls.

This is a french loaf of bread


Of course, this is another type of french roll.


To make my breads, I first mixed a 1 inch ball of white clay with a 1 inch ball of beige clay. I then textured the clay by mixing in a bunch of cornflour. Next, I formed my bread, using a toothpick to do my top designs on the circular and ovular loafs (I braided the clay to make my braided loafs). Lastly, to give my breads the realistic baked effect of actual bread, I mixed dry pastels to color them. In my pastel mix, I used equal amounts of dark brown, tan, goldish brown, and dark red, all scribbled on a scrap of paper and mixed together. If you make your own, adjust your pastel mix to create the bread effect you want. Afterword, simply bake your clay in a 275 degree Fahrenheit oven for about 10 minutes, give or take. Comment if you have any questions. Soon, I will upload an appetizer tray I am almost done with. Bye!

Sunday, March 13, 2011

Pig's Head

Hi! So, today I just made a medieval Tudor style roast pig head. It took me about one hour and a half, but it was worth the time. I made it out of polymer clay and dry pastels. Here are pictures:
Enjoy!

Cakes and Pies

Hi! So, the other day I made all of these cakes and pies. They took me a long time, but I had fun making them. Here are pics:
This one is a Lemon Creme Cake. Sorry the picture is a bit blurry. My camera isn't very good at close up.

This one is a Raspberry Sponge Cake filled with raspberry and vanilla creme. I also put raspberries on top of vanilla frosting.

 This is a chocolate cake with vanilla icing and dark chocolate leaves.
This is one my three apple crisps I made.
This berry pie took me a long time to make. I had to bake each leaf and heart decoration separately. 
This is another berry pie, but a different style. This one was a lot of fun to make. I also made a meat pie in the same style, but much smaller. Sorry, I couldn't take a picture because the meat pie was too small for my camera to focus on.

I made all my food out of Polymer Clay and Acrylic creme. If you have any questions, feel free to comment below!

Food!!!

Hi! On Wednesday, I had the opportunity to take an all day class on making miniature food. It was a wonderful class. The teacher's name was Helena Solway. You can view her work and sale items at these websites:
http://www.solwayminiatures.co.uk/
http://www.etsy.com/people/SolwayMiniatures

I highly recommend you go to her websites, whether you want to look, or whether you want to buy. Well, enough talk. Here are pics of the wonderful food I made!!!!!!!!

Sorry it's sideways...

Top Shelf: in the bowl, I have 4 different flavors of meringues. In the glass jar, I have tiny peppermint lozenges. On the plate, I have vanilla and chocolate truffles.

On the middle shelf, I have dark chocolates, milk chocolates, and white chocolates, filled with raspberry and other chocolate flavors.
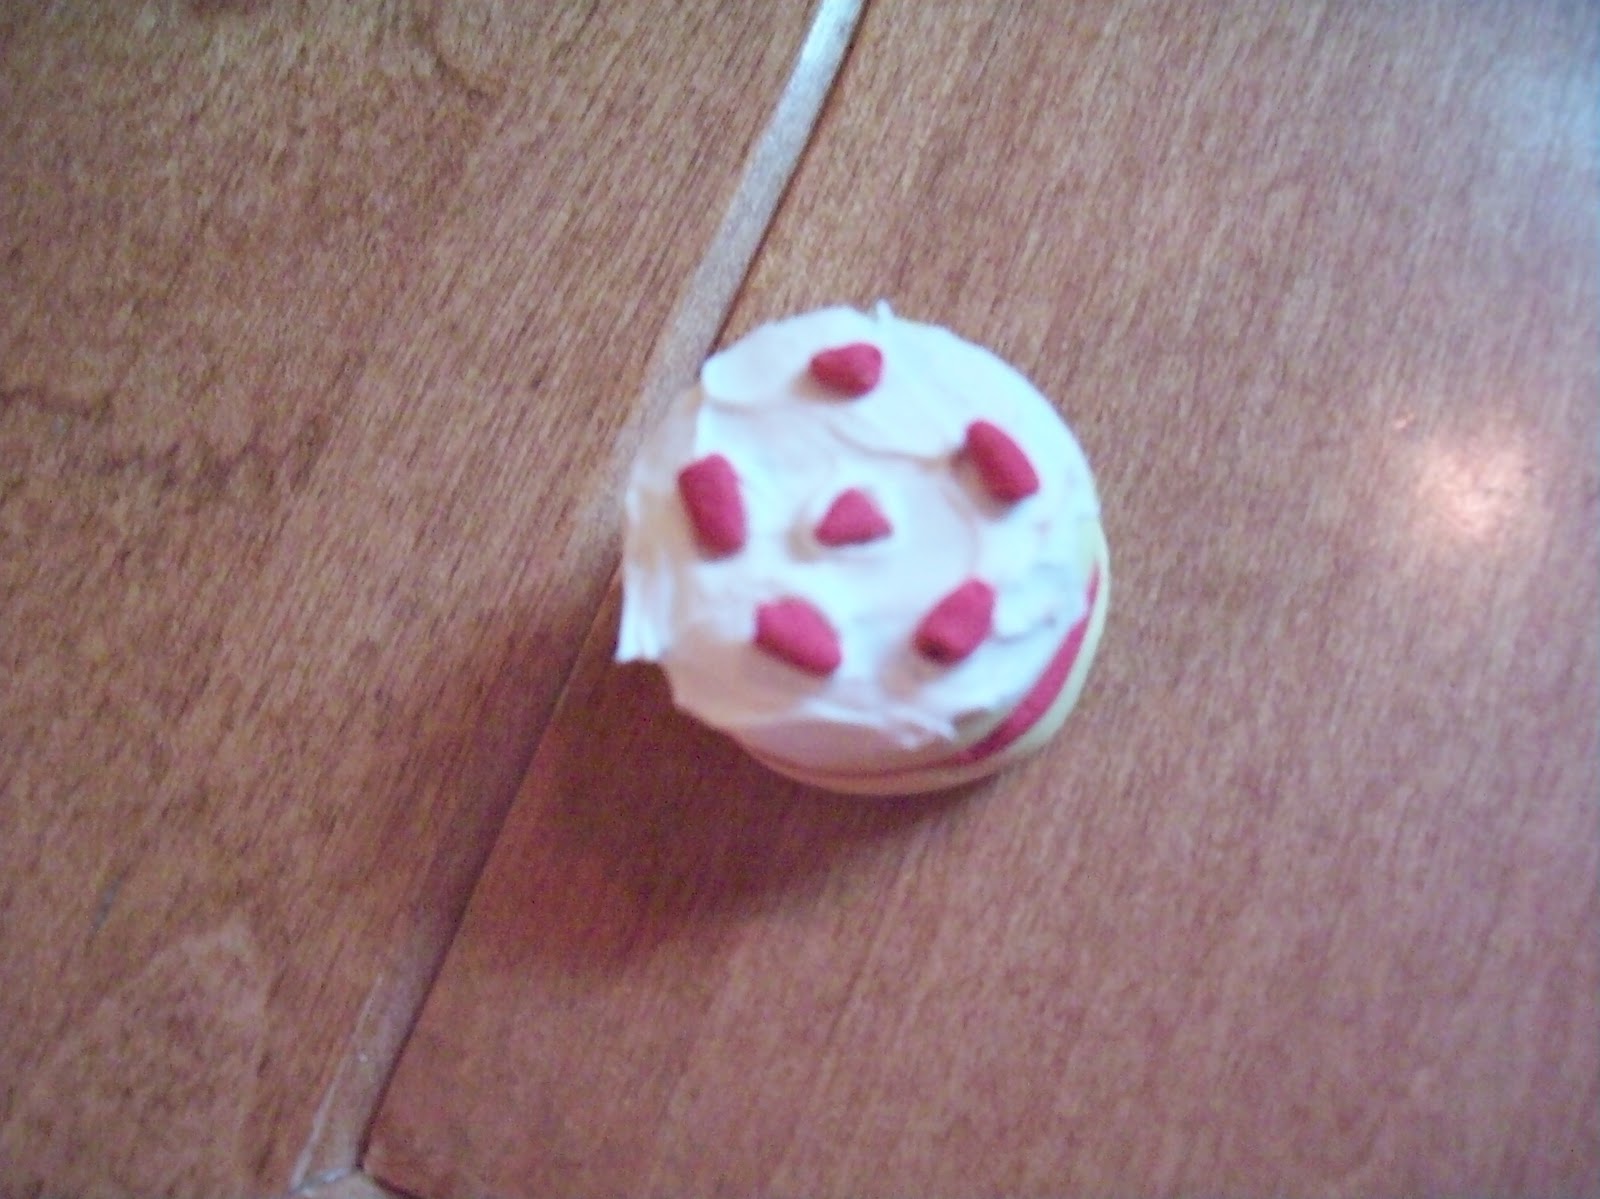
On the bottom shelf, I have many different types of mini cakes. My favorite of these is lemon tart cake with a strawberry on top. I also like my chocolate mint cake.

I you want to know how to make any of  these creations, comment below this post, and I will post the instructions.

This class really was a treat, because the teacher is from the U.K., and was here for a doll house show. She won't be back to Washington until September, when another show will be happening.
More food will be coming!

Monday, March 7, 2011

Hospital Patients

Hi! On Saturday, my mom and I went to the Seattle dollhouse show, and we bought some cheap dolls. Yesterday I was hard at work on them. Not dressing them, but instead I was giving them buboes (boils filled with pus that the bubonic plague, which was part of the Black Death, caused). Here are some pics (The sheet on the women is because I didn't want to post naked dolls on my blog) :

So, as you can see, my buboes look pretty real. To make the sores, I first mixed Polymer clay (sculpey, to be exact) and matched my doll's skin tone exactly. I then formed small balls from the soft clay, and smoothed the edges so it looked just like the dolls own skin. I never baked my buboes to make them harden because I wanted to blend them to the skin really well.Then, I used a tooth pick, a tiny paint brush, and some blood red paint. I dipped the toothpick in the paint and carefully dotted each buboe with tiny specks of paint. Using a dry paint brush, I brushed my sores and slightly spread the paint. After I did this, I gently dipped only the very tip of the brush in a tiny bit of paint, which I then brushed over the sore, and around its edges. Ta da! Your sores are now completed! If you do decide to make your own plague people, just remember that if you make a mistake on a buboe, all you have to do is wipe it off and start again! I really hope you're not disgusted. My dad and brother thought that my people were disgusting. I don't know why. All the buboes are is clay and paint! Though, I guess the thought of plague victims is rather gross. Anyway, good luck if you make your own! Adios!  

MORE DEAD PEOPLE!!!!!!!!!!!!!!!!!!!

Hi! I just tea-stained my bodies. Now they are a yellowy color. They looked better, but I still need to stain them more with brown paint or something and make them look dirtier. Anyway, here is a picture of the tea-stained bodies:
Bye!